When to Replace Your Boat’s Engine Fuel Filter
Your boat’s fuel system is critical for reliable engine operation. If there is water, diesel bacteria, sludge or dirt in the fuel tank, the fuel filter should be inspected and replaced before it causes engine problems.
A clean fuel filter protects the injection pump, injectors and engine from contamination. Replacing it on time is a simple maintenance step that prevents hard starting, loss of power and unexpected breakdowns.
View our fuel filters here: fuel filters for marine engines .
Why Regular Fuel Filter Checks Matter
A clogged or contaminated fuel filter restricts fuel flow and can quickly lead to performance issues.
- Reduced engine performance
- Hard starting
- Engine hesitation or stalling
- Reduced fuel efficiency
- Risk of fuel injection system damage
For most boats, the fuel filter should be checked at least once per season and always before winter storage.
Signs It Is Time to Replace the Fuel Filter
- Water in the filter bowl: indicates possible fuel tank contamination.
- Dirt or particles in the filter: shows that the tank or fuel supply may be dirty.
- Sludge buildup: diesel bacteria can form thick sludge when water is present in the fuel.
- Engine hesitation or stalling: often caused by restricted fuel flow.
- Loss of power under load: a common symptom of a partially blocked fuel filter.
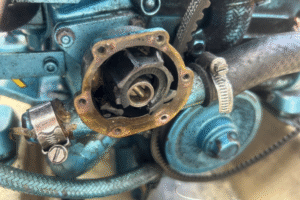
Diesel Bacteria and Sludge in Boat Fuel Tanks
Diesel bacteria usually develop when water is present in the fuel tank. This creates sludge that can block the fuel filter and eventually reach sensitive fuel system parts.
If you find sludge or water in the filter, replacing the filter alone is not enough. The fuel tank should also be checked and cleaned to prevent the same problem from returning.
When Should You Replace a Marine Fuel Filter?
- At least once per year
- Before winter storage
- After finding water or sludge in the filter bowl
- After fuel contamination
- When the engine hesitates, stalls or loses power
- After cleaning the fuel tank
Replacing the fuel filter during winter preparation is often the best moment, because the boat is already being serviced and fuel contamination can be checked before the next season.
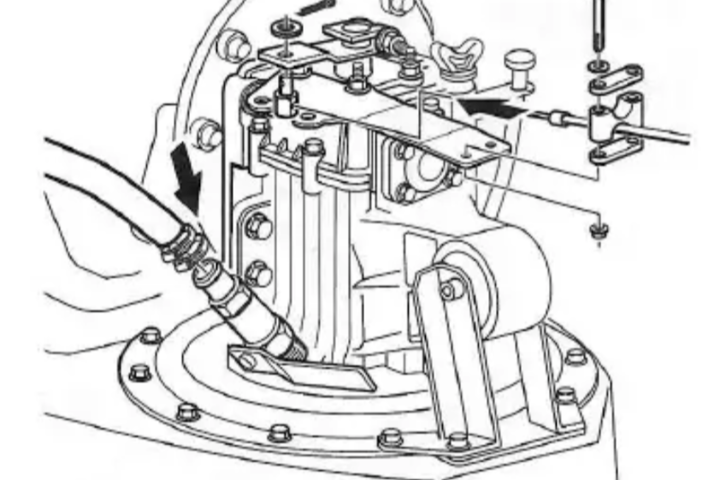
Install a Pre-Filter for Extra Protection
A diesel pre-filter adds an extra layer of protection before fuel reaches the engine-mounted filter. Many pre-filters use a transparent bowl, making it easier to see water, dirt or bad fuel early.
This is especially useful for older boats, boats with steel fuel tanks, or engines that are used less frequently.
- Helps catch water before it reaches the engine
- Makes contamination easier to inspect
- Protects the main fuel filter
- Reduces the risk of fuel system problems
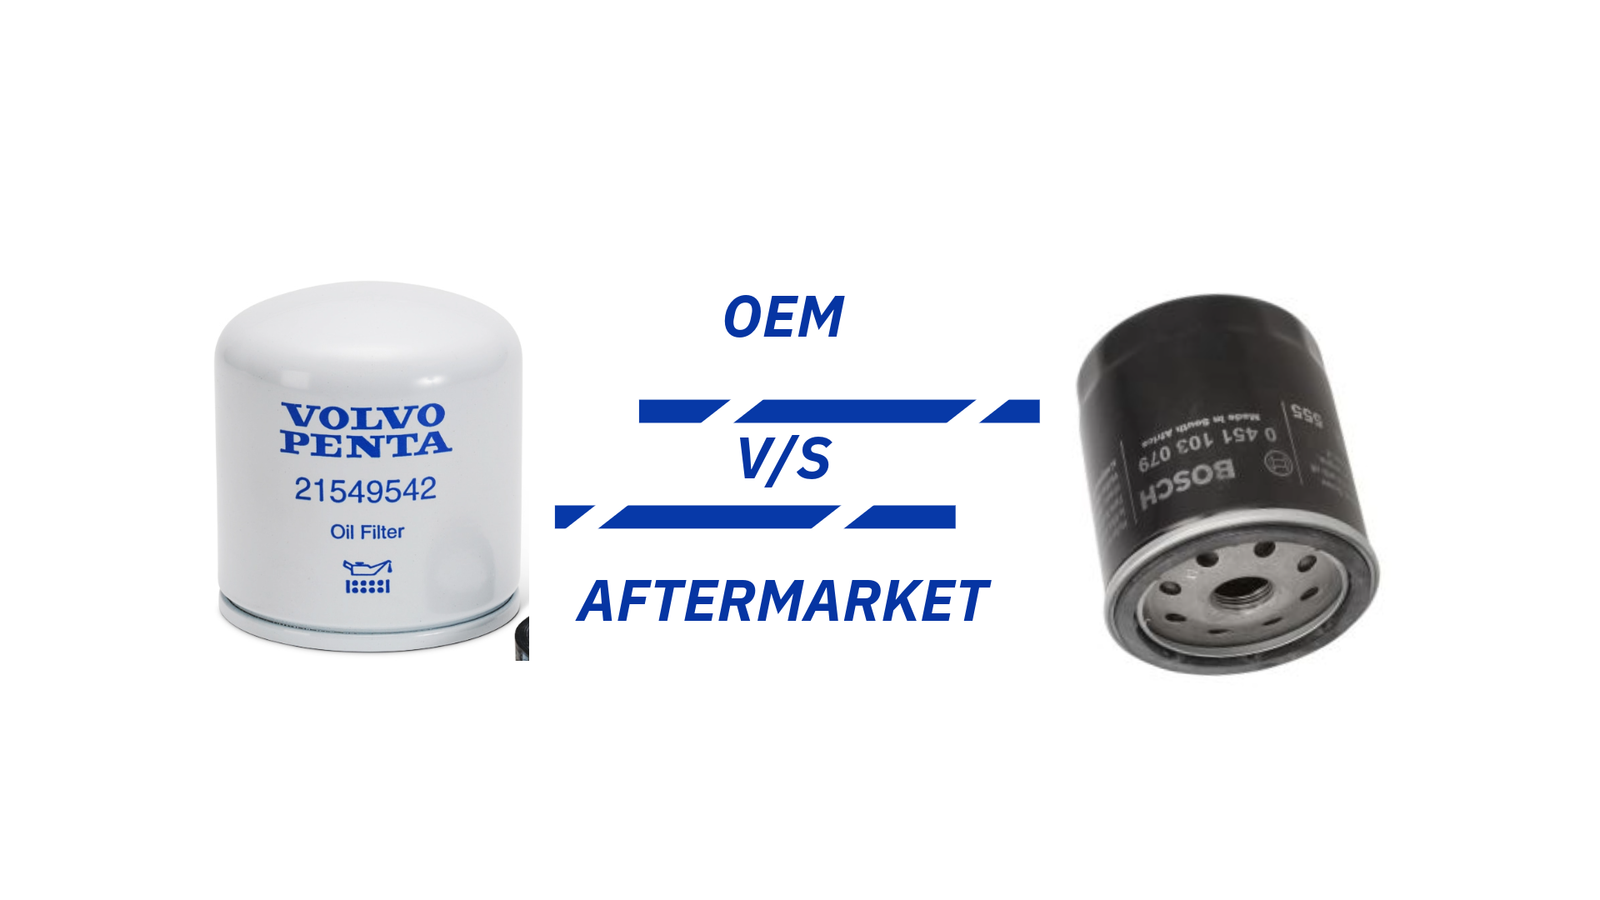
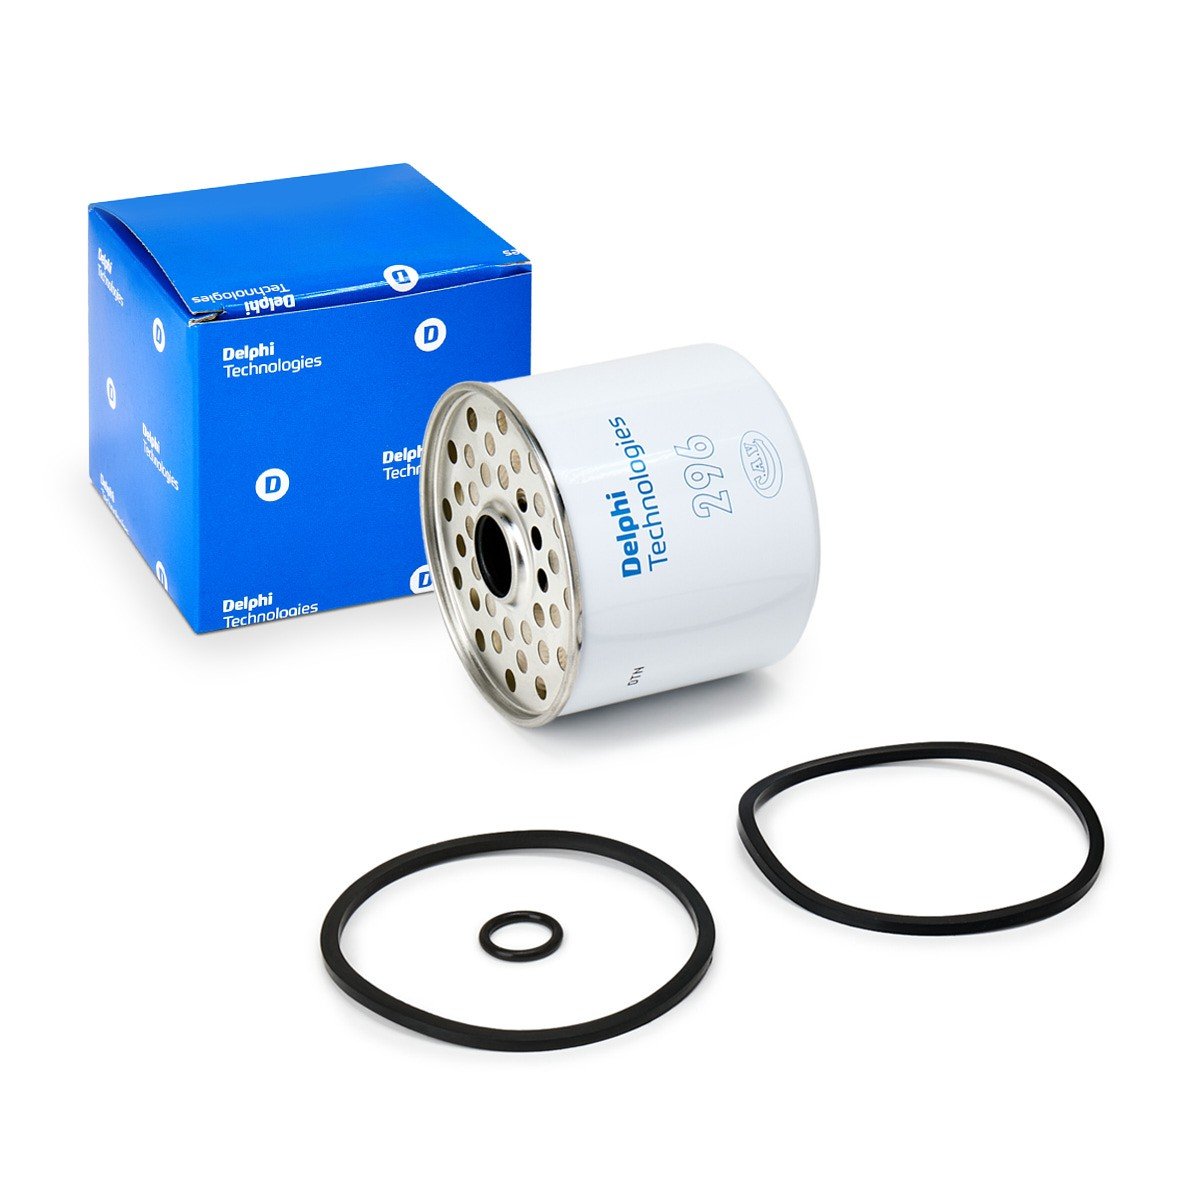
Important Note for Delphi Pre-Filters
If your boat uses a Delphi-style pre-filter, sealing can sometimes be difficult with certain aftermarket filters. In many cases, the Volvo Penta fuel filter 3581078 seals more reliably and is easier to install.
For Delphi pre-filter setups, we recommend checking this filter: Volvo Penta fuel filter 3581078 .
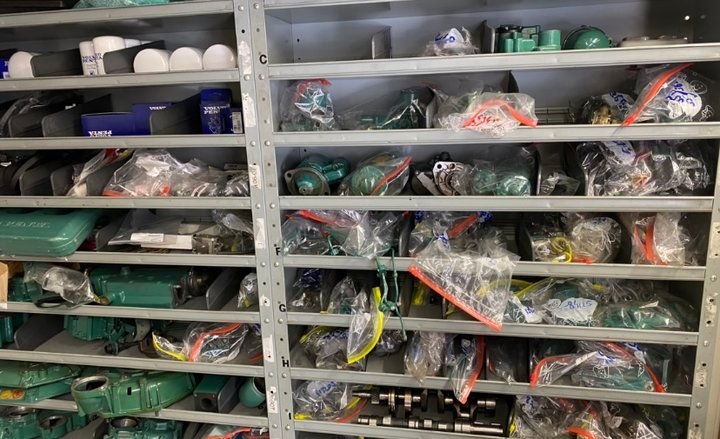
Recommended Products
Marine Fuel Filters
Fuel filters for Volvo Penta, Yanmar, Vetus and other marine engines
View fuel filtersPreventive Maintenance Tips
- Check the fuel filter regularly during the season.
- Replace the fuel filter annually.
- Inspect for water before winter storage.
- Clean the fuel tank if sludge or contamination is found.
- Use clean, high-quality diesel fuel.
- Keep the tank as full as possible during storage to reduce condensation.
Frequently Asked Questions
- How often should I replace my boat’s fuel filter?
Usually once per year or whenever water, sludge or dirt is found. - What causes sludge in diesel fuel?
Sludge is often caused by diesel bacteria growing where water is present in the fuel tank. - Can a clogged fuel filter stop the engine?
Yes. A blocked filter can restrict fuel flow and cause the engine to stall. - Should I clean the fuel tank if the filter contains sludge?
Yes. Otherwise the new filter may quickly become blocked again.
Conclusion
Replacing your boat’s fuel filter on time is essential for reliable engine operation. Water, sludge and dirt in the fuel system can quickly lead to starting problems, power loss and engine damage.
Inspect the filter regularly, replace it during annual maintenance and install a pre-filter if you want extra protection against contaminated fuel.